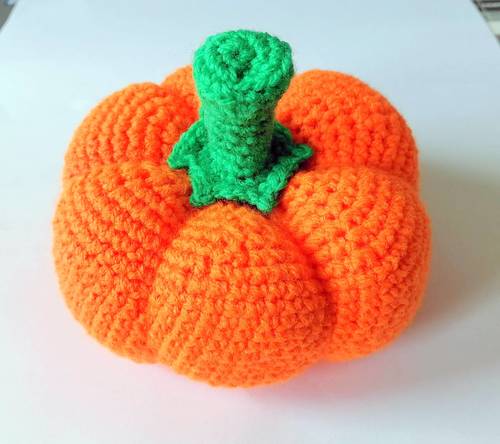
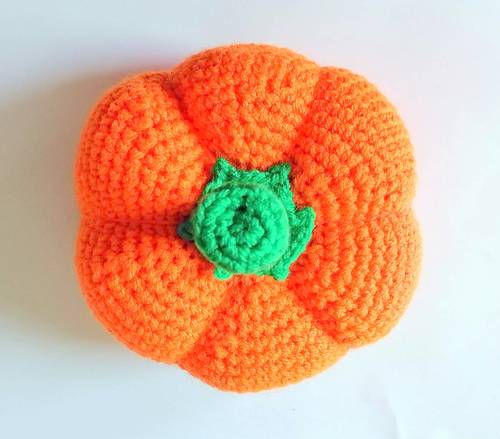
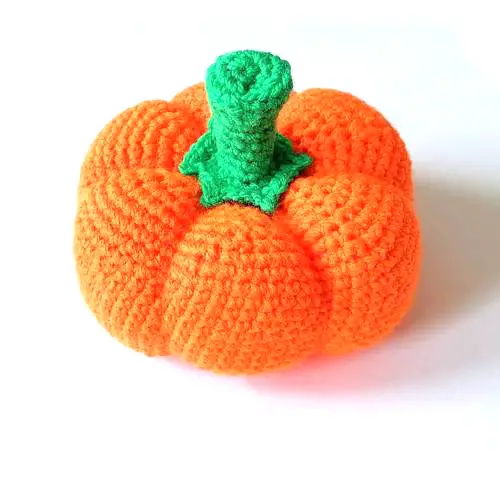
This free amigurumi pumpkin crochet pattern is very easy to make. The little crochet pumpkin is perfect for Fall and Thanksgiving home decor!
You will need:
- Yarn – I used orange and green acrylic yarn
- Crochet hook (that fits the yarn size) – I used a 3mm hook
- Stuffing
- Tapestry needle for sewing the parts together
Abbreviations Of The Crochet Terms:
sc – single crochet
inc – increase (2 stitches in one stitch)
dec – decrease (crochet 2 stitches together)
slst – slip stitch
Pumpkin
With orange yarn:
Round 1: 6 sc in magic ring (6)
Round 2: 6 inc (12)
Round 3: (1 sc, inc) x6 (18)
Round 4: (2 sc, inc) x6 (24)
Round 5: (3 sc, inc) x6 (30)
Round 6: (4 sc, inc) x6 (36)
Round 7: (5 sc, inc) x6 (42)
Round 8: (6 sc, inc) x6 (48)
Round 9: (7 sc, inc) x6 (54)
Round 10: (8 sc, inc) x6 (60)
Round 11: (9 sc, inc) x6 (66)
Round 12: (10 sc, inc) x6 (72)
Round 13-25: 72 sc (72)
Stuff along the way!
Round 26: (10 sc, dec) x6 (66)
Round 27: (9 sc, dec) x6 (60)
Round 28: (8 sc, dec) x6 (54)
Round 29: (7 sc, dec) x6 (48)
Round 30: (6 sc, dec) x6 (42)
Round 31: (5 sc, dec) x6 (36)
Round 32: (4 sc, dec) x6 (30)
Round 33: (3 sc, dec) x6 (24)
Round 34: (2 sc, dec) x6 (18)
Round 35: (1 sc, dec) x6 (12)
Round 36: 6 dec (6)
Fasten off, leave a very long yarn tail.
Use a tapestry needle to sew the remaining hole closed.
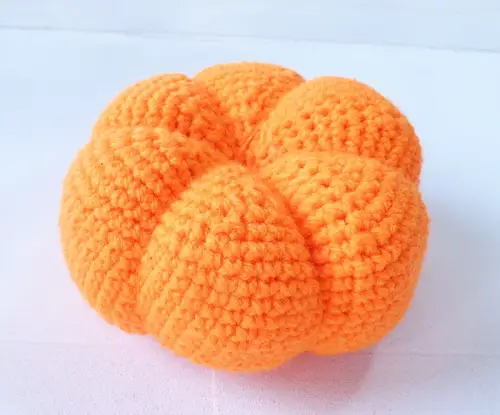
Push the tapestry needle through the middle of the pumpkin to the other side.
Using quite a bit of tension, pull the thread around to the other side of the pumpkin and push the tapestry needle through the same spot in the middle.
Repeat this five more times (six times in total). Try to divide the pumpkin into six equal parts, whilst keeping the tension quite firm. After the last push through securely fasten the thread in the middle by making a couple of knots.
Pumpkin Stem
With green yarn:
Round 1: 6 sc in magic ring (6)
Round 2: 6 inc (12)
Round 3: (1 sc, inc) x6 (18)
Round 4: in the back loops only: 12 sc, 3 dec (15)
Round 5: 11 sc, 2 dec (13)
Round 6: 9 sc, 2 dec (11)
Round 7: 1 dec, 9 sc (10)
Round 8-12: 10 sc (10)
Round 13: 10 inc (20)
Round 14: 3 sc, (ch 2, 1 slst), 3 sc (ch 2, 1 slst), 4 sc (ch 2, 1 slst), 3 sc (ch 2, 1 slst), 3 sc (ch 2, 1 slst), 4 sc (ch 2, 1 slst)
Close round 14 with a slip stitch.
Fasten off, leave a yarn tail for sewing.
Stuff the stem lightly.
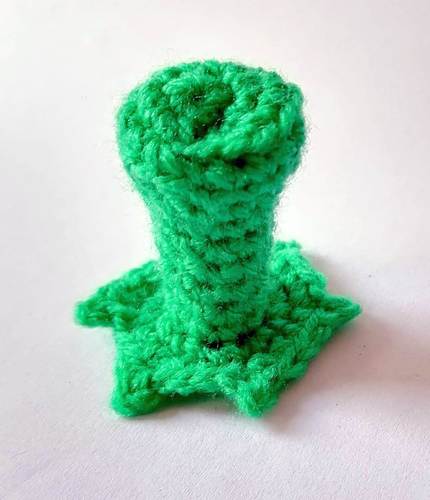
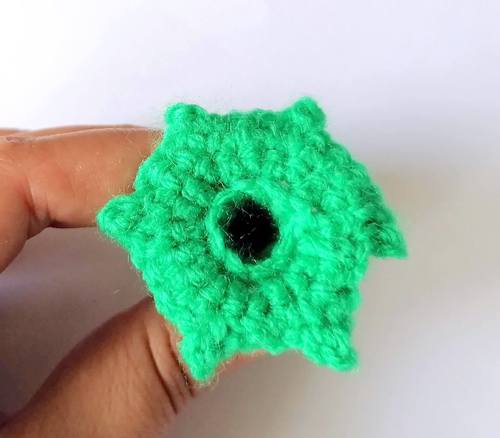
Sew the stem to the pumpkin.
Make sure the points of the stem fit into the grooves of the pumpkin.
And you’re done! Your little pumpkin is all finished!
If you want, you can further decorate your amigurumi pumpkin with some curly vines and some leaves.
